Calisthenics Chest Workout -Top 10 Best Bodyweight Exercises
Calisthenics Chest Workout -Top 10 Best Bodyweight Exercises
Imagine transforming your chest with just bodyweight exercises
This guide includes the top 10 exercises for the best calisthenics chest workout, that can take you from curious to committed, showcasing how effective and efficient bodyweight training can be.
This exercise routine is ideal for those who prefer to work out at home or in outdoor spaces, as it requires little to no equipment.
This guide is perfect for beginners. These exercises will challenge you, sculpt your physique, and elevate your fitness journey.
Get ready to push your limits and achieve the chest strength and definition you’ve always wanted.
Let’s dive in and start your transformation today!
Table of Contents
▶️ Fundamentals of Calisthenics Chest Workouts
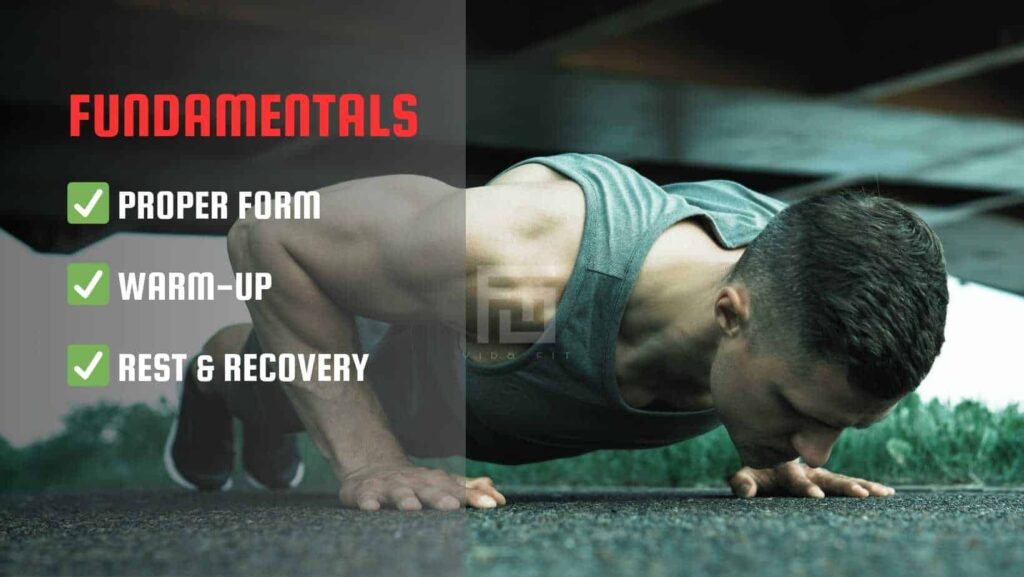
I have seen certified personal trainers coaching people new to exercise and showing them how to do complex and advanced exercises, which only frustrates the new starter. I find best for beginners, they must focus on the basics first, learn the proper form until you have built confidence doing the basic exercises.
Calisthenics chest workouts focus on using bodyweight exercises to build muscle and strength.
Beginners should start with fundamental moves like push-ups, understanding that simple variations can increase intensity and difficulty.
Proper form is crucial to avoid injury and maximize benefits.
Gradually increasing reps and difficulty over time helps progress.
Consistency, combined with warming up, rest, and nutrition, is key to seeing improvements.
In addition, as we do push-ups and any of it variations, we also engage our core. Research has highlighted benefits of strength for people with back pain and for carrying out everyday activities
✅ Importance Of Warm-Up
Before starting any workout, it is essential to warm up the muscles to prevent injury and improve performance.
A proper warm-up routine can help raise the body’s core temperature, increase heart rate, increase blood flow, loosen up the joints, activate the chest muscles, and prepare the body for the workout ahead.
To warm up for a calisthenics chest workout, you can perform exercises such as:
- Jumping jacks
- Arm circles
- 2 minutes of rope jumping
- 5 minutes on the bicycle
- 5 minutes of light jog
I particularly like to go for a 10-minute fast-paced walk, preferably on an inclined terrain, that gets my heart pumping in no time, and after the 10 minutes have passed, I am ready for my workout. As I walk, I move my arms around, doing arm circles and shoulder stretches.
✅ Importance Of Rest And Recovery
Rest and recovery are crucial for muscle development for several reasons:
1️⃣ Prevention of Overtraining: Consistent, intense training without adequate rest can lead to overtraining syndrome, negatively impacting muscle growth and overall health. Symptoms include prolonged fatigue, decreased performance, and increased risk of injuries. Incorporating rest days helps prevent overtraining by allowing your body to recover.
2️⃣ Glycogen Replenishment: Muscles store energy in the form of glycogen. During workouts, these stores are depleted. Proper nutrition and rest periods are crucial for replenishing glycogen stores, ensuring that your muscles have the energy required for subsequent workouts, aiding in performance and growth.
3️⃣ Prevention of Mental Burnout: Constant training without breaks can not only lead to physical fatigue but also mental burnout, making workouts feel more challenging and less enjoyable. Rest helps maintain mental freshness and motivation.
4️⃣ Hormonal Balance: Exercise stresses the body, leading to an increase in stress hormones like cortisol. While some stress is beneficial for muscle growth, too much can be detrimental, leading to muscle breakdown. Adequate rest helps maintain a healthy balance of anabolic (muscle-building) and catabolic (muscle-breaking) hormones.
This article from Healthline explains how important rest and recovery are to prevent injuries due to overtraining.
▶️ Bodyweight Chest Exercises And Variations
Here is a list of the best exercises to train your chest
✅ Flat Push-ups
To perform this exercise, follow these steps:
- Starting Position: Begin in a high plank position with your hands firmly placed on the ground slightly wider than shoulder-width apart. Your feet should be together just slightly apart, balancing on your toes.
- Body Alignment: Ensure your body forms a straight line from your head to your heels. Engage your core, glutes, and quads to maintain stability and prevent your hips from sagging or lifting too high.
- Elbow Position: As you lower yourself, keep your elbows at a 45-degree angle to your body.
- Lowering Down: Inhale as you slowly bend your elbows to lower your body towards the floor. Aim to get your chest close to the ground without actually touching it. Keep your body straight throughout the movement.
- Pushing Up: Exhale as you push through your hands to lift your body back up to the starting position, extending your arms fully without locking out your elbows.
- Repetition: Repeat the movement for the desired number of repetitions, maintaining proper form throughout each push-up.
Remember, quality over quantity. It’s better to perform fewer push-ups with correct form than many with poor form.
✅ Incline Push-ups
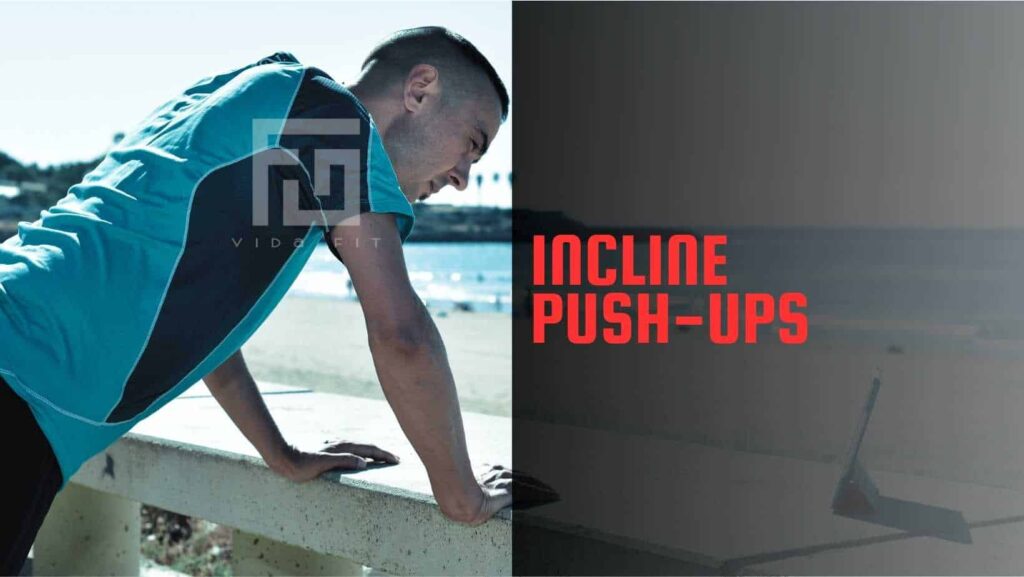
This exercise is similar to flat push-ups, but your hands are in an elevated position.
These are performed with the hands on an elevated surface, such as a bench, step, or wall.
Primarily target the lower chest and shoulders but reduce the intensity on the triceps compared to flat push-ups.
The higher the incline (the higher the hands are placed), the easier the push-up becomes, making incline push-ups a great starting point for beginners or those building upper body strength.
Incline push-ups are great for building strength progressively.
- Beginners: Start with a higher surface, such as a wall or a countertop, to reduce the amount of body weight you need to lift, making the push-ups easier to perform.
- Intermediate: As you build strength, you can lower the height to increase the difficulty. Using a bench, chair, or sturdy coffee table (generally around 18 inches – approx 45 cm high) is an excellent intermediate step.
- Advanced: To further increase the challenge before moving to flat push-ups, use a lower surface like a step or a low stool, which could be around 6 to 12 inches (approx 15 to 30 cm) high.
✅ Decline Push-ups
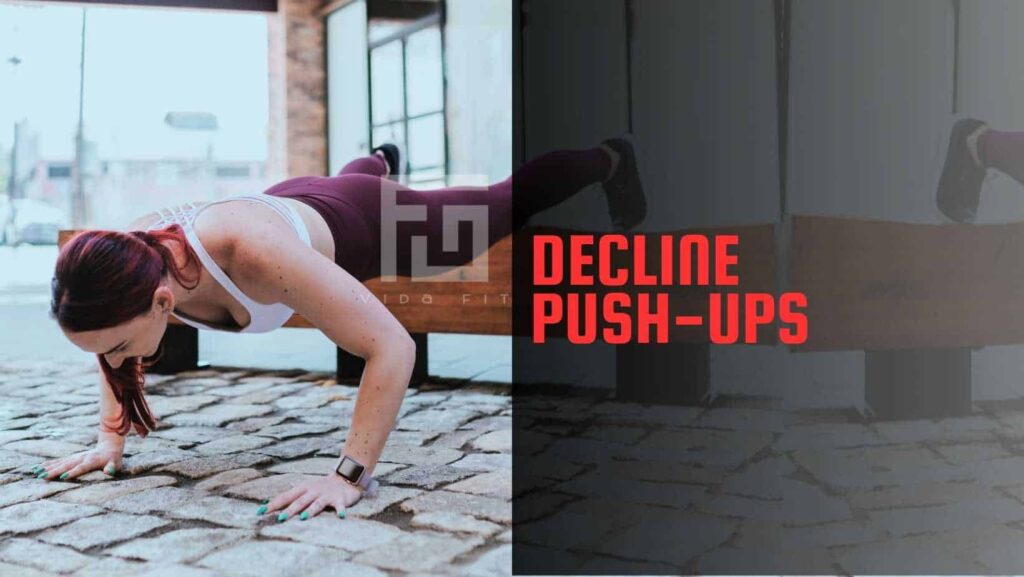
This exercise is similar to flat push-ups, but this time your feet are in an elevated position.
These are performed with the feet on an elevated surface, such as a bench, step, or wall.
Decline push-ups differ in the angle of the body relative to the ground, which affects the targeted muscle groups and the difficulty level of the exercise.
- These are performed with the feet elevated on a raised surface, such as a bench or step, and hands on the ground.
- Primarily target the upper chest and shoulders, with increased engagement of the upper pectoral muscles compared to flat push-ups.
- The declined position of the body increases the difficulty by placing more body weight onto the arms and shoulders.
✅ Intermediate: Diamond Push Ups
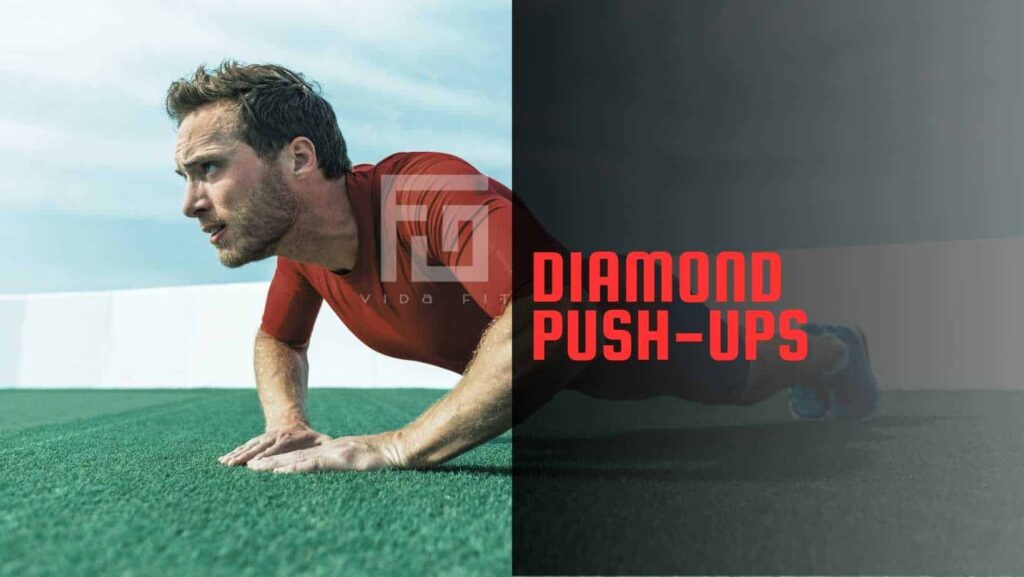
Diamond Push-up is a calisthenics exercise, which is an intermediate variation of push-ups targeting multiple muscle groups, with a focus on the triceps, shoulders, and chest. They also engage the core and the muscles in the upper back.
How to perform the Diamond Push-ups:
Starting Position: Begin in a high plank position with your hands close together under your chest, fingers forming a diamond shape (thumbs and index fingers touching).
Follow the steps of flat push-ups but maintain the diamond hand placement.
✅ Chest Flyes With Elastic Bands
Chest flies with elastic bands target the chest muscles, particularly focusing on the pectoral muscles. They also engage the shoulders (deltoids) and arms (biceps) to a lesser extent for stabilization and movement control.
How to Perform Chest Flies with Elastic Bands:
- Secure the Band: Place the elastic band behind your back at chest level. Your hands should be grabbing the band at each end of the band.
- Starting Position: Stand feet shoulder-width apart. Grasp the ends of the band with each hand, arms extended out to the sides at shoulder level, with a slight bend in the elbows.
- Perform the Fly: Keeping a slight bend in your elbows, bring your hands together in front of your chest. The movement should be smooth and controlled, focusing on squeezing your chest muscles as your arms come together.
- Return: Slowly let your arms return to the starting position, maintaining tension in the chest and controlling the movement.
✅ Intermediate: Chest Dips
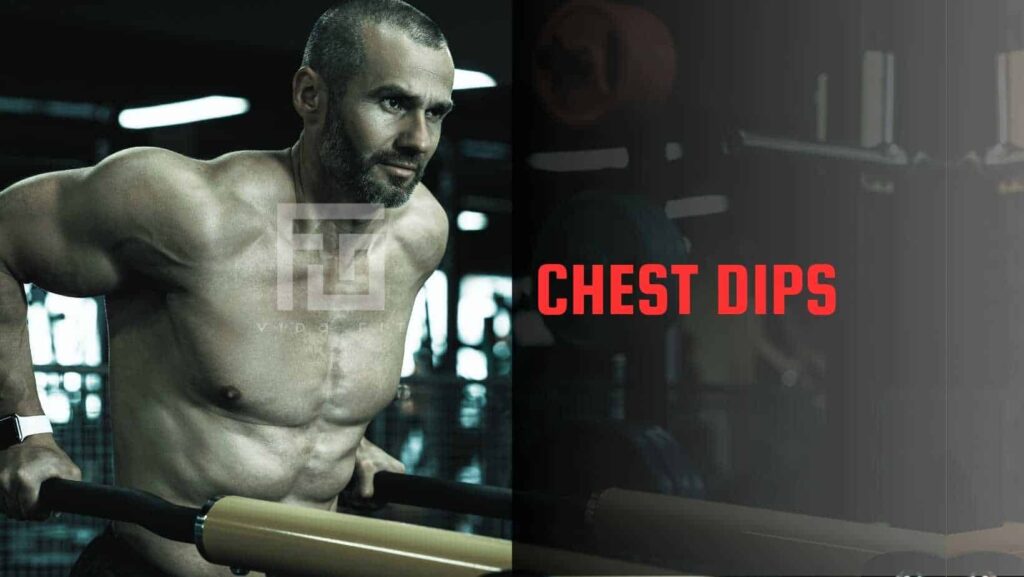
Chest dips are a compound bodyweight exercise that primarily targets the muscles in the chest, shoulders, and triceps.
- Starting Position: Position yourself between parallel bars or on a dip station. Grip the bars, and place your hands with your palms facing inward and your arms straight.
- Initial Descent: Lean slightly forward to shift the emphasis to your chest muscles. Bend your knees and cross your ankles for stability.
- Lowering Your Body: Slowly bend your elbows to lower your body, keeping your elbows slightly flared out to the sides. Descend until your shoulders are slightly below your elbows or as low as you can go without discomfort.
- Pressing Up: Push through your palms, extending your elbows to lift your body back to the starting position. Focus on using your chest and triceps to drive the movement.
✅ Advanced: Russian dips
Russian dips are an advanced variation of the standard dip exercise, incorporating a dynamic movement that challenges the muscles and joints of the upper body more intensively. They are particularly effective for building strength and stability in the arms, shoulders, and core.
How to Perform Russian Dips:
- Starting Position: Begin on parallel bars, similar to a regular dip setup. Ensure your grip is firm, with arms fully extended and shoulders directly above your hands.
- Initial Descent: Lower your body by bending your elbows, keeping your elbows close to your body. Continue to descend until your upper arms are just below parallel to the ground.
- The Transition: As you reach the bottom of the dip, lean back, allow your elbows to go slightly behind your body, and rest them on the bars. This requires a controlled lean, and you may need to use your legs for balance.
- Reverse: Pull yourself forward using your hand and a bit of momentum from your legs until you get to the bottom of a normal dip.
- Final Extension: Straighten your arms completely, returning to the starting position with your shoulders above your hands. Keep your shoulder down and further away from your ears.
✅ Advanced: Chest-weighted dips
Chest-weighted dips are an advanced variation of the standard dip that involves adding extra weight to increase the intensity of the exercise. This variation more heavily targets the muscles of the chest, triceps, and shoulders, making it an effective strength-building movement.
How to Perform Chest Weighted Dips:
- Equipment Setup: Use a dip belt to add weight plates, a weighted vest, or a dumbbell held between the back of your knees to add resistance.
- Starting Position: Secure the additional weight and position yourself between parallel bars or on a dip station. Grip the bars with your palms facing inward, arms straight, and shoulders above your hands.
- Lean Forward: Slightly lean your torso forward to shift the emphasis onto the chest muscles. This is key for targeting the chest rather than just the triceps.
- Lower Your Body: Inhale as you slowly bend your elbows to lower your body. Descend until your elbows are at about a 90-degree angle or your shoulders are just below your elbows.
- Press Up: Exhale as you extend your elbows, pushing your body back up to the starting position. Focus on using your chest and triceps to drive the movement.
- Maintain Form: Throughout the exercise, keep your core engaged and your movements controlled to prevent swinging or momentum from aiding the lift.
✅ Advanced: Single Arm Push Ups
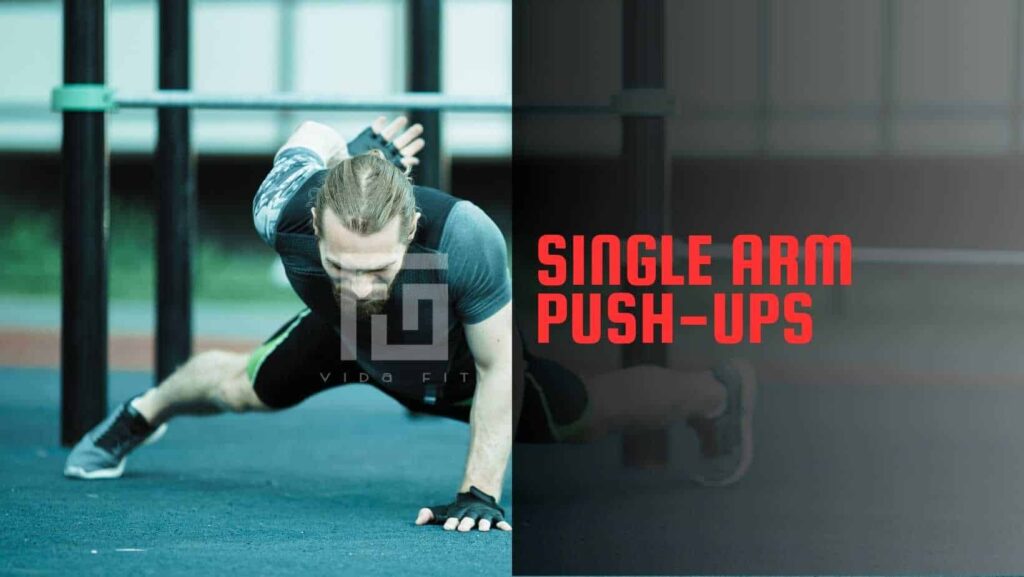
Single-arm push-ups are a highly advanced variation of the standard push-up that significantly increases the challenge by requiring you to lift your entire body weight with just one arm.
This exercise not only targets the upper body muscles more intensely but also engages the core and lower body for stabilization.
How to Perform Single-Arm Push-Ups:
- Starting Position: Start in a high plank position with your feet wider than shoulder-width apart for increased stability. Place one hand on the ground directly under your shoulder and place the other hand behind your back.
- Body Alignment: Ensure your body forms a straight line from your head to your heels. Engage your core and glutes to maintain stability.
- Lowering Phase: Slowly lower your body towards the floor by bending the elbow of the working arm. Keep your body straight and avoid rotating at the hips or shoulders.
- Pushing Phase: Press through the palm of your working hand, extending your arm to push your body back up to the starting position.
- Breathing: Inhale as you lower your body and exhale as you push back up.
- Switch Sides: Perform the desired number of repetitions on one side before switching to the other arm.
✅ Advanced: Clapping Push Ups
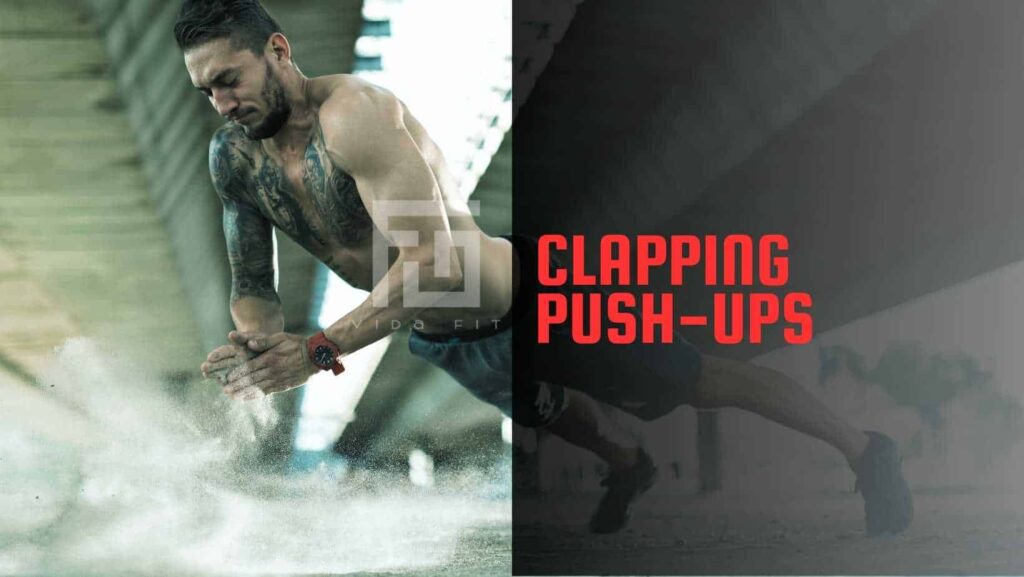
Clapping push-ups are an explosive variation of the traditional push-up that incorporates a plyometric element, enhancing power, strength, and speed. This exercise not only targets the upper body muscles more intensely but also requires and develops a high level of coordination and core stability.
How to Perform Clapping Push-Ups:
- Starting Position: Begin in a standard push-up position with your hands shoulder-width apart and your body forming a straight line from your head to your heels.
- The Descent: Lower your body towards the floor by bending your elbows, keeping your elbows close to your body to maximize triceps engagement.
- The Explosive Push: Explosively push through your hands to lift your body off the ground. The force should be enough to allow your hands to leave the floor.
- The Clap: While airborne, quickly clap your hands together before placing them back in their starting position to catch your body.
- The Landing: Land softly with your arms slightly bent to absorb the impact and immediately lower yourself into the next push-up.
- Breathing: Inhale on the way down, and exhale as you push up and clap.
✅ Advanced: Archer Pushup
Archer push-ups are an advanced variation of the standard push-up that increases the load on one arm at a time, mimicking the drawing of a bow, like an archer. This exercise is excellent for building unilateral strength and stability, and it targets the upper body muscles with an emphasis on each side individually.
How to Perform Archer Push-Ups:
- Starting Position: Begin in a push-up position, but with your hands placed wider than shoulder-width apart. Your fingers can point slightly outward to accommodate the wider stance.
- The Descent: As you lower your body, shift your weight to one arm while extending the other arm out to the side, keeping it straight. Your bent arm should do most of the work, lowering your body towards the floor.
- The Push-Up: Push through the palm of your bent arm to lift your body back up to the starting position while the opposite arm remains extended. The straight arm should provide minimal assistance, mainly acting as a stabilizer.
- Switch Sides: After completing the movement on one side, shift your weight to the other arm and repeat the push-up, extending the opposite arm out to the side.
- Breathing: Inhale as you lower your body and exhale as you push back up to the starting position.
▶️ Incorporating Equipment and Resistance
While calisthenics chest workouts can be done with just bodyweight exercises, incorporating equipment and resistance can help increase the intensity and effectiveness of the workout. Here are a few ways to incorporate equipment and resistance into a calisthenics chest workout.
✅ Using Resistance Bands
Resistance bands are a versatile and affordable way to add resistance to bodyweight exercises. By attaching a resistance band to a pull-up bar or other sturdy anchor point, you can perform exercises like banded push-ups, banded chest flies, and banded dips.
One benefit of using resistance bands is that they allow for a greater range of motion and can help target different areas of the chest. For example, by performing banded chest flies, you can target the outer chest muscles, which can be difficult to engage with regular push-ups.
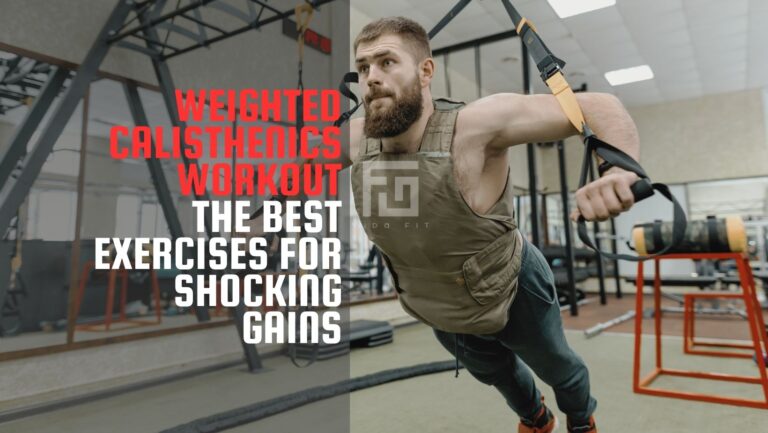
Related article: Weighted Calisthenics Program | Best Exercises For Shocking Gains
✅ Weighted Vests
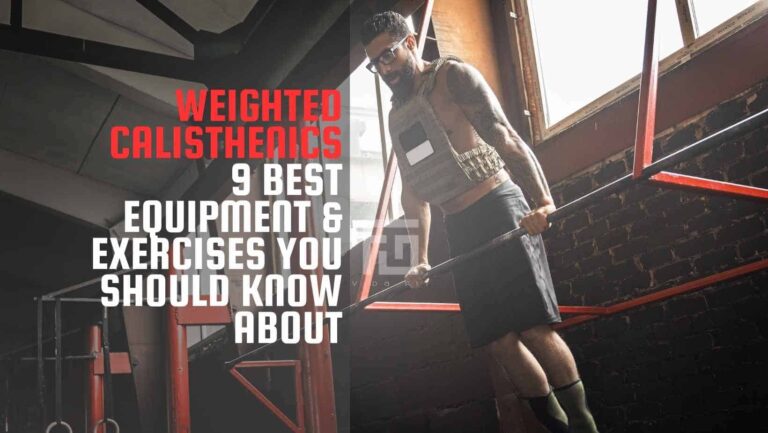
Weighted vests are another way to add resistance to bodyweight exercises. Wearing a weighted vest during exercises like push-ups and dips can increase the load on your chest muscles and make the exercises more challenging.
One benefit of using a weighted vest is that it allows for a more natural range of motion compared to other types of weights, like dumbbells or barbells. Additionally, because the weight is evenly distributed across the body, it can help improve overall strength and stability.
When using a weighted vest, it’s important to start with a lighter weight and gradually increase the load over time. This can help prevent injury and ensure that you’re able to maintain proper form throughout the exercise.
Incorporating equipment and resistance into a calisthenics chest workout can help increase the intensity and effectiveness of the workout. By using resistance bands and weighted vests, you can target different areas of the chest and make the exercises more challenging.
✅ Weighted Belt
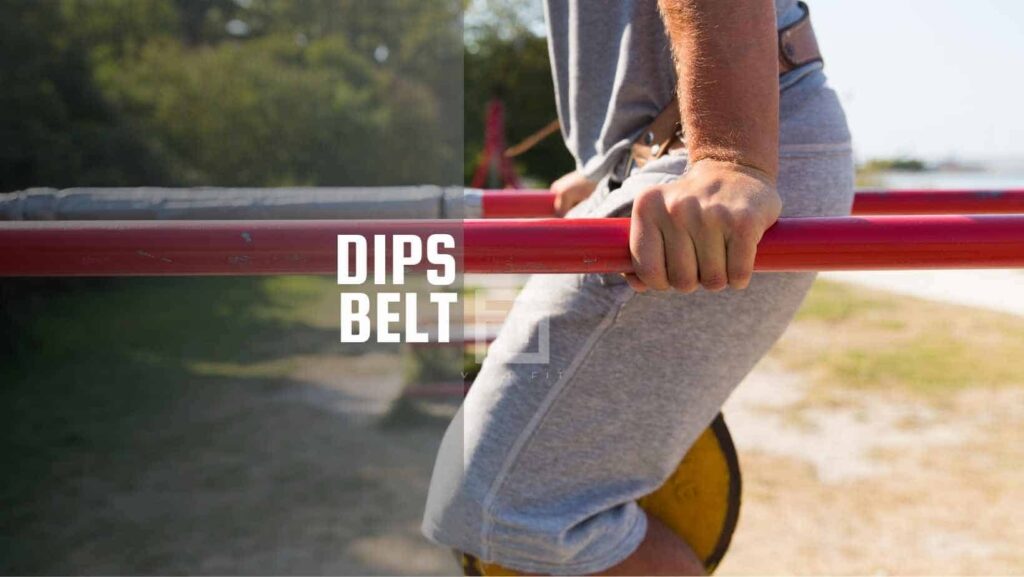
Incorporating a weighted belt into a calisthenics chest workout can significantly enhance the intensity and effectiveness of the exercises, leading to numerous benefits:
- Increased Muscle Strength and Size: Adding weight increases resistance, which challenges your muscles further. This additional load stimulates muscle fibers more intensely, promoting strength gains and hypertrophy (muscle growth).
- Progressive Overload: To continually make gains in muscle strength and size, you need to progressively increase the demands on your muscles. A weighted belt allows for the gradual addition of weight, helping you apply the principle of progressive overload effectively.
- Improved Muscle Endurance: Training with added weight can improve your muscular endurance. When you eventually perform exercises without the extra weight, your muscles will be able to sustain activity for longer periods due to the adaptation to higher loads.
- Plateau Breaking: If you’ve hit a plateau in your calisthenics routine, adding a weighted belt can introduce a new challenge to your muscles, pushing you past the stagnation point.
- Enhanced Core Stability: The added weight increases the demand on your core muscles to stabilize your body during exercises, leading to a stronger and more stable core.
- Increased Metabolic Demand: Working out with additional weight not only requires more strength but also increases energy expenditure. This can enhance caloric burn both during and after your workout, aiding in fat loss and overall fitness.
▶️ Wrap-Up

- Calisthenics chest workouts are a great way to build strength and muscle mass in the chest area without using weights or machines.
- Proper form and technique are crucial when performing calisthenics chest exercises, as is a good understanding of the muscles in the chest area.
- By incorporating advanced routines and equipment, you can continue to challenge yourself and achieve your fitness goals.
